







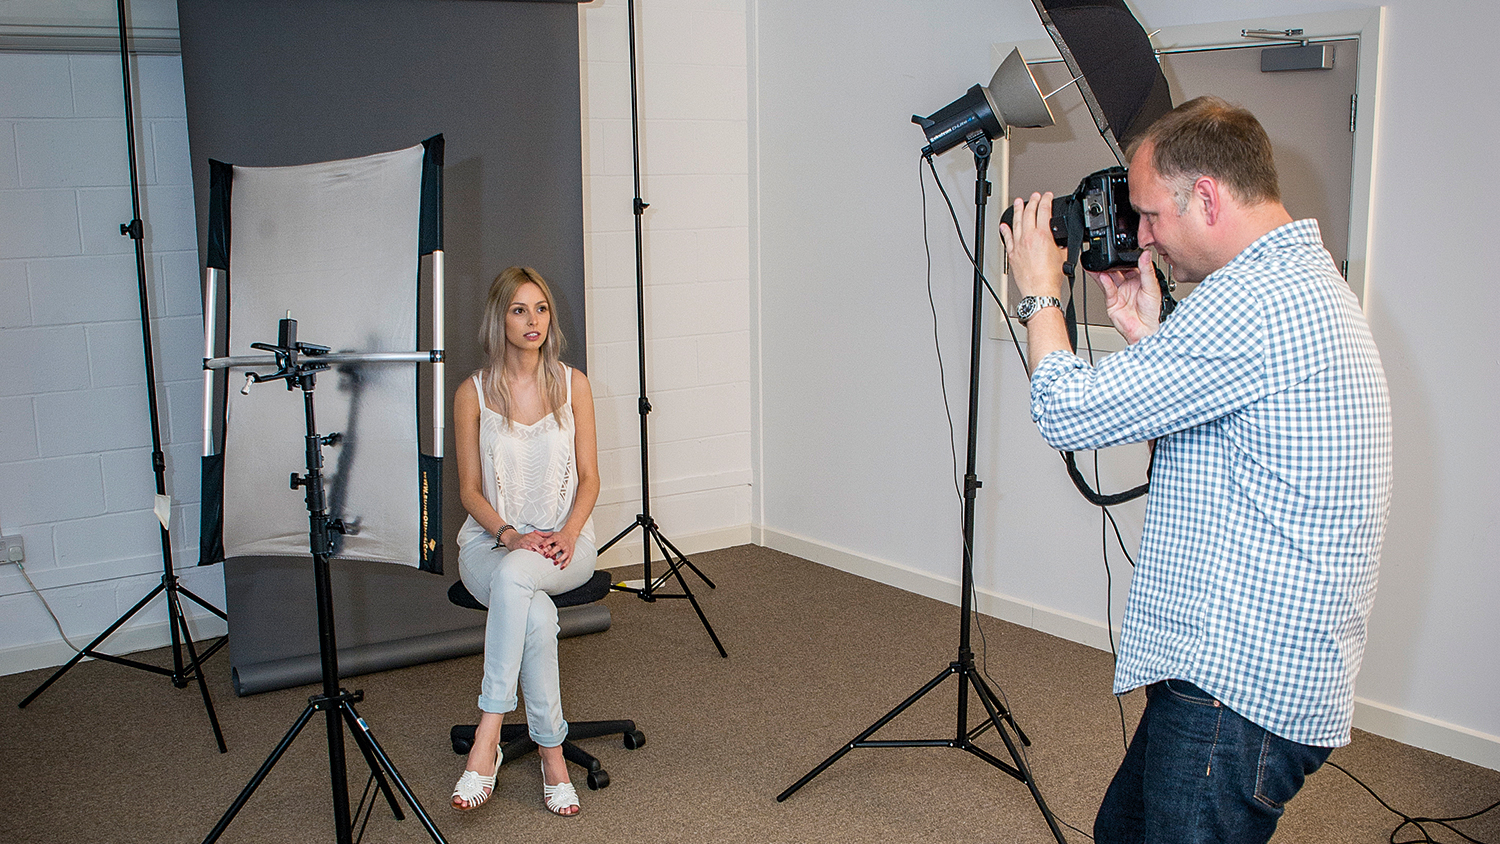
Creating professional portraits doesn’t always require a fancy studio or expensive gear. With a bit of creativity, good lighting, and a few simple techniques, you can capture high-quality portraits right in the comfort of your own home. Whether you’re an aspiring photographer or just someone who wants better photos for social media, this guide will show you how to shoot professional portraits at home step-by-step.
- Understanding the Basics of Portrait Photography
- Step 1: Choose the Right Location at Home
- Step 2: Set Up the Background and Environment
- Step 3: Master the Lighting
- Step 4: Use the Right Camera Settings
- Step 5: Pay Attention to Posing
- Step 6: Composition and Framing
- Step 7: Editing Your Portraits
- Step 8: Experiment and Learn
- Quick Comparison Table: Essentials for Home Portrait Photography
- Conclusion
- FAQs
Understanding the Basics of Portrait Photography
Before you start snapping pictures, it’s essential to understand what makes a portrait professional. A good portrait isn’t just a clear image of a person’s face — it tells a story, captures emotion, and highlights the subject’s personality.
Three core elements make or break your portrait photos:
- Lighting – determines mood, clarity, and depth.
- Composition – how the subject is positioned in the frame.
- Background and environment – adds context and enhances the photo’s style.
When these three elements come together, even a photo taken at home can look like it was shot in a professional studio.

Step 1: Choose the Right Location at Home
The first step in shooting professional portraits at home is to find a location with good natural light. Window light is your best friend — it’s soft, flattering, and completely free!
- Near a large window: Position your subject about 2-3 feet from the window. Avoid direct sunlight to prevent harsh shadows.
- Plain backgrounds: A blank wall, curtain, or even a clean corner can serve as a perfect backdrop.
- Outdoor balcony or porch: If you have access to one, it can add a natural and airy feel to your photos.
If your home doesn’t get much sunlight, don’t worry. You can use affordable LED ring lights or softboxes to mimic daylight. Aim for soft, even lighting across your subject’s face.
Step 2: Set Up the Background and Environment
A distracting or cluttered background can ruin an otherwise perfect portrait. To make your images look more professional, keep things simple and intentional.
Here are some creative ideas:
- Use a plain white, beige, or grey wall for a minimalistic studio look.
- Hang a fabric sheet or backdrop behind your subject. You can even use a bedsheet!
- Add props such as a chair, plant, or mirror to give your portraits a lifestyle vibe.
Remember, your background should complement the subject, not compete for attention.
Step 3: Master the Lighting
Lighting is the key difference between amateur and professional photography. Here are a few simple lighting setups you can try at home:
1. Window Light Setup
Place your subject facing a large window with sheer curtains to diffuse the light. This creates a soft, natural glow and eliminates harsh shadows.
2. Side Lighting
Position your subject so that light hits one side of the face while the other remains slightly shaded. This adds depth and drama, perfect for artistic portraits.
3. DIY Reflectors
If one side of your subject’s face looks too dark, use a white poster board, foil, or mirror to bounce light back. This helps balance the exposure and gives your photos a professional touch.
Step 4: Use the Right Camera Settings
You don’t need a $2,000 camera to take professional portraits. Even a smartphone can do wonders with the right settings and techniques.
For DSLR or Mirrorless Cameras:
- Aperture (f-stop): Use a wide aperture (f/1.8 – f/2.8) for a blurry background and sharp focus on the face.
- Shutter speed: Keep it around 1/125 or faster to avoid motion blur.
- ISO: Start with ISO 100–400 for clean, noise-free photos.
For Smartphones:
- Tap on the subject’s face to lock focus and exposure.
- Use Portrait Mode to automatically blur the background.
- Experiment with manual camera apps like Lightroom Mobile or ProCam for advanced control.
Step 5: Pay Attention to Posing
Good posing can transform an ordinary photo into a striking portrait. The key is to make your subject feel comfortable and confident.
Here are a few posing tips:
- Avoid stiff, straight poses. Ask your subject to slightly tilt their head or relax their shoulders.
- Try the “S-curve” pose — where the body forms gentle curves — to add elegance.
- Encourage natural expressions: have a conversation, play music, or make them laugh.
- Experiment with different angles: shoot slightly from above for a soft look, or from eye level for strong, direct portraits.
Step 6: Composition and Framing
How you frame your subject can dramatically change the impact of your portrait. Use these simple composition rules:
- Rule of Thirds: Imagine a grid over your image and place your subject along the lines or at intersections for a balanced composition.
- Headroom and spacing: Don’t cut off the top of the head too much. Leave just enough space for balance.
- Leading lines: Use elements like door frames or walls to draw attention toward your subject.
Pro Tip: Leave negative space (empty areas) around the subject for a modern, artistic effect.
Step 7: Editing Your Portraits
Post-processing is where your photos go from “good” to “wow.” You don’t need advanced Photoshop skills — just basic adjustments can make a big difference.
Recommended Editing Tools:
- Lightroom (desktop or mobile) – for lighting, color, and exposure correction.
- Snapseed – for mobile users, it offers easy yet powerful tools.
- Canva or Pixlr – for quick retouching and creative effects.
Key Edits to Focus On:
- Adjust brightness and contrast to add clarity.
- Reduce shadows slightly for a soft look.
- Smooth skin gently — don’t overdo it, as natural texture looks more professional.
- Enhance eyes and colors subtly to make portraits pop.
Step 8: Experiment and Learn
Every home environment is different. The best way to master portrait photography is through practice and experimentation.
Try shooting at different times of day to understand how light behaves in your space. Take photos from various angles, use props, and adjust lighting setups until you find what works best for your style.
Over time, you’ll develop your own creative approach — that’s what separates a beginner from a professional.
Quick Comparison Table: Essentials for Home Portrait Photography
| Element | What You Need | Pro Tip |
|---|---|---|
| Lighting | Natural window light or ring light | Avoid harsh midday sunlight |
| Background | Plain wall, curtain, or sheet | Keep it simple and clutter-free |
| Camera | DSLR, mirrorless, or smartphone | Use wide aperture or portrait mode |
| Props | Chair, plant, or mirror | Add depth and personality |
| Editing | Lightroom, Snapseed, Canva | Keep edits natural and subtle |
Conclusion
Learning how to shoot professional portraits at home is about creativity, not expensive gear. With the right lighting, thoughtful composition, and a bit of editing, you can capture stunning portraits that look straight out of a studio. The key is to experiment, stay patient, and let your subject’s personality shine through your lens.
So grab your camera — or even your phone — find the best light in your home, and start creating magic!
FAQs
1. Do I need a professional camera to shoot portraits at home?
No, you don’t! Modern smartphones have powerful cameras that can take professional-looking portraits with good lighting and technique.
2. What’s the best time of day to shoot portraits indoors?
Late morning or early evening is ideal. The sunlight is softer and more flattering during these times.
3. How can I make my background look more professional?
Use a plain wall, fabric, or curtain. You can also blur the background using a wide aperture or portrait mode to draw focus to your subject.
4. What color clothing is best for portrait photography?
Neutral or solid colors work best. Avoid bright patterns or logos that might distract from the face.
5. How do I get natural expressions from my subject?
Keep the atmosphere relaxed — play soft music, make small talk, and let them move naturally. The more comfortable they feel, the better their expressions will be.